
I was just elected President
November 29, 2016
Prepping your Deck for Winter
December 10, 2016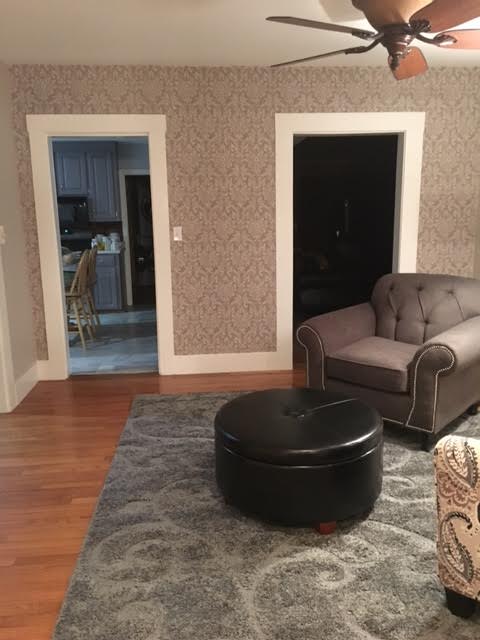
Wallpaper a wall in a half of a day:
The room needed something extra. The walls, ceiling and trim have all been repainted but it needed a pop.
Some may say it needed some texture, something needed to break up the endless walls of gray paint.
Wallpapered Wall to the rescue:
The following is a brief “How To” process for the DIY person and tools required:
- clean prepped wall (holes filled if needed)
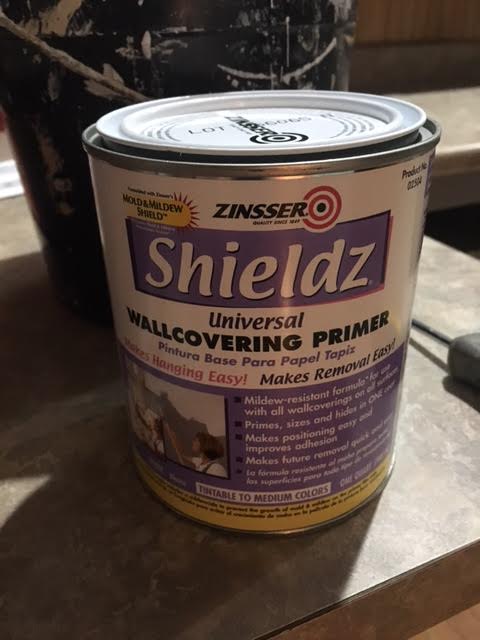
- The wall has to be sized which means a priming material has to be rolled on which allows the
 wallpaper to be manipulated while hanging and also for easy wall paper removal in he future.
 - Find a starting point and mark a level line to about the wall-paper on so that is straight on the wall. (I used a 4 foot level)
- Cut first piece of wallpaper slightly longer than needed
- I purchased prepasted wall paper which I had to soak for approximately 30 seconds rolled loosely when submerged in the wall paper trough filled with water. (long plastic tray made for this purpose)
- You then “book” the wall paper which means folding the wall paper over on top of each other so it is paste against past but do not crease the wallpaper.
- Hang your paper, cut with sharp utility blade utilizing a straight edge or putty knife for longer trim cuts
- Wipe down all wood work and wallpaper as you are installing it with fresh clean water to remove any extra paste from the back of the wall paper that might have contaminated other surfaces.
- Repeat, Repeat and Repeat.
- It is easier to write this than it was to wall paper but the important thing would be to Read the directions as every wall paper is different.
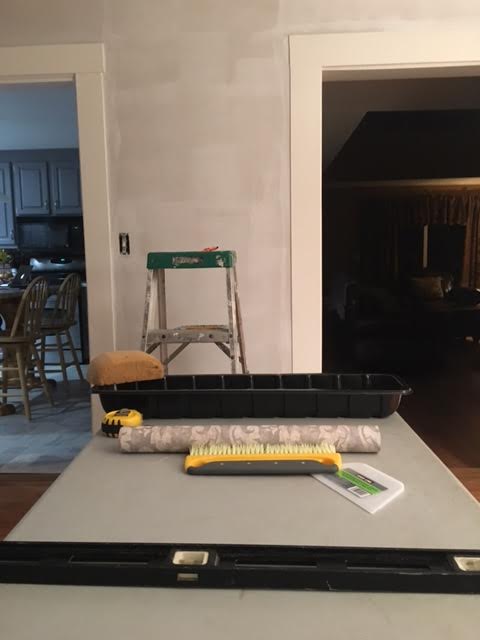
prepped and ready for wallpaper
If you are looking to remove wall paper, please visit our blog post at https://ramsdenpainting.com/water-damaged-wallpaper-what-is-your-next-step/
if we can assist with any questions regarding painting or wallpapering, please find us at www.ramsdenpainting.com

wallpaper accent wall half complete, Ramsden painting
Related posts
June 26, 2019

December 18, 2018